As I mentioned in other recent posts, I’m trying to diversify the look of my show a bit from bullet pixels in coro. As part of that effort, I decided to try my hand at a few custom designs for seed pixels in HDPE. Here you will find a few build / end result photos, as well as source code in case you want to have some cut for yourself or want to adjust the design.
Concept
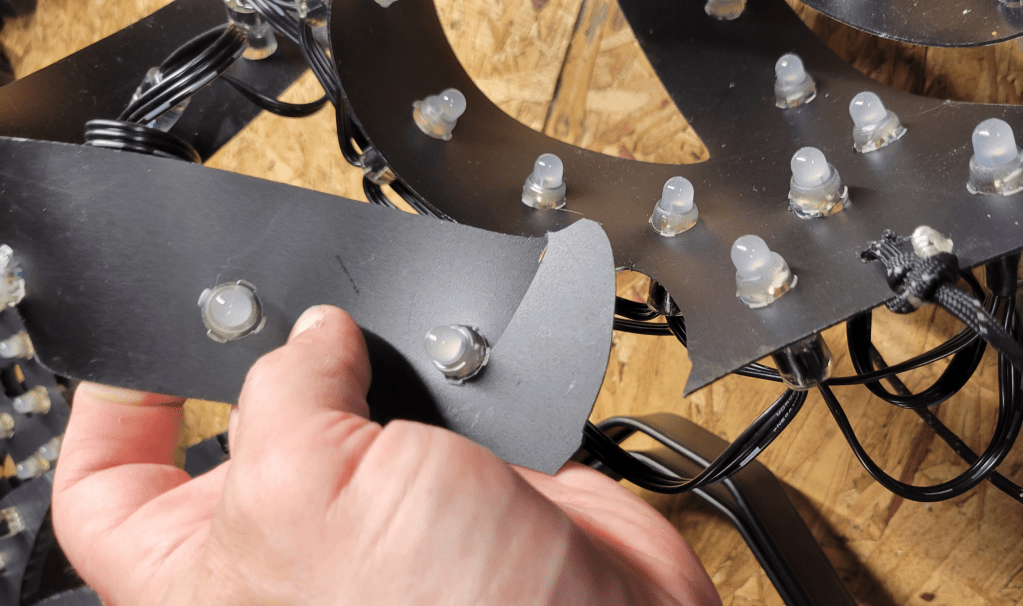
The basic idea I started with is to cut ‘I’-shaped slits in the sheets of HDPE plastic and push the pixels in so that the HDPE holds them. Snapping the pixels in seems to work well.

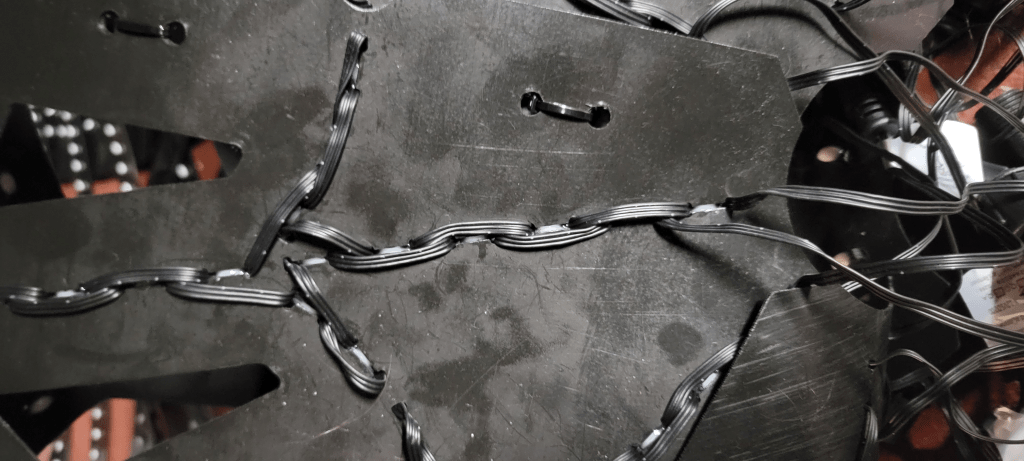
The trick then is to come up with pleasing designs that accommodate the spacing of seed pixels without a lot of splicing or slack wire. I’m using 5cm spacing in these designs, which allows just under 1” spacing for going out along a path, then turning around and coming back in the alternate holes.
Pixel Choice
The first pixels I tried were incredibly cheap 5V seeds. These fit in the plastic just fine, but the wire was extremely thin and hard to work with, and a lot of PI points were needed. I spent far more time doing PI than designing the props and pushing pixels (though perhaps this is just because I am bad at PI).
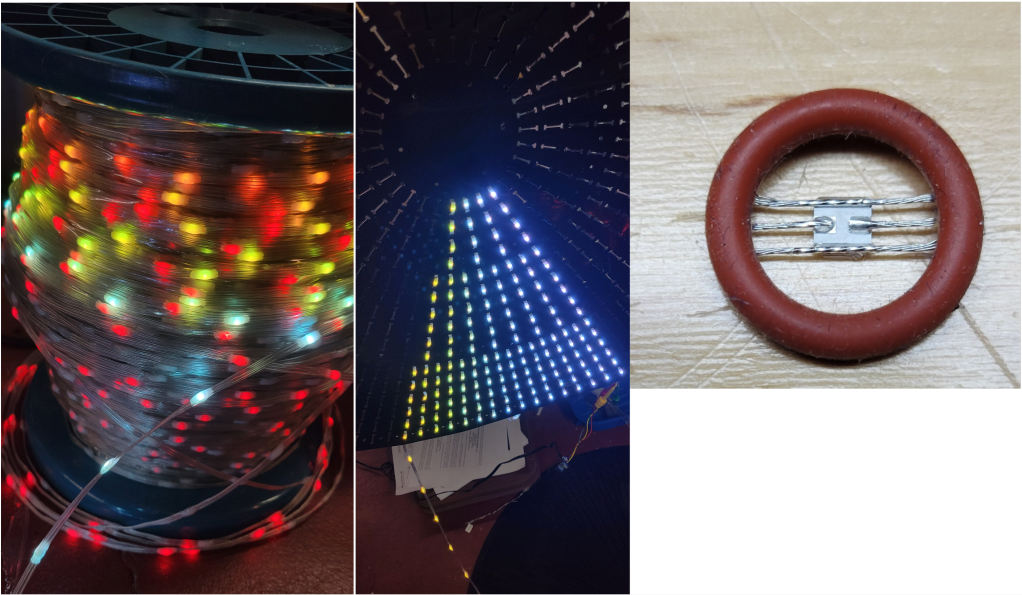
Anyway, after the first prototypes, I switched to premade strings like these 12V 200-node strings from Wally’s Lights that work fine without PI. Utilizing 200-node strings without cutting became an additional design requirement.
HDPE Fabrication
As I mentioned last year, HolidayCoro offers completely custom HDPE cutting, with sheet dimensions of approximately 8’. All designs shown here were cut there. (If interested, your best bet is to email sales@holidaycoro.com or fill out their web form.)
All other work was done manually. Pixels were pushed in using either the worn-down eraser of a #2 pencil, or one of the oval-shaped punch tools in this package. In cases where additional holes were needed, these leather punches were also used to make them. Some holes were also made and reinforced with a grommet press.
Mini Megatrees (1600 node at 240 degrees)
I have had HolidayCoro HDPE bullet pixel trees since my first show in 2021. The basic idea, an HDPE cone with pixels stuck in it, translates well to seed pixels:
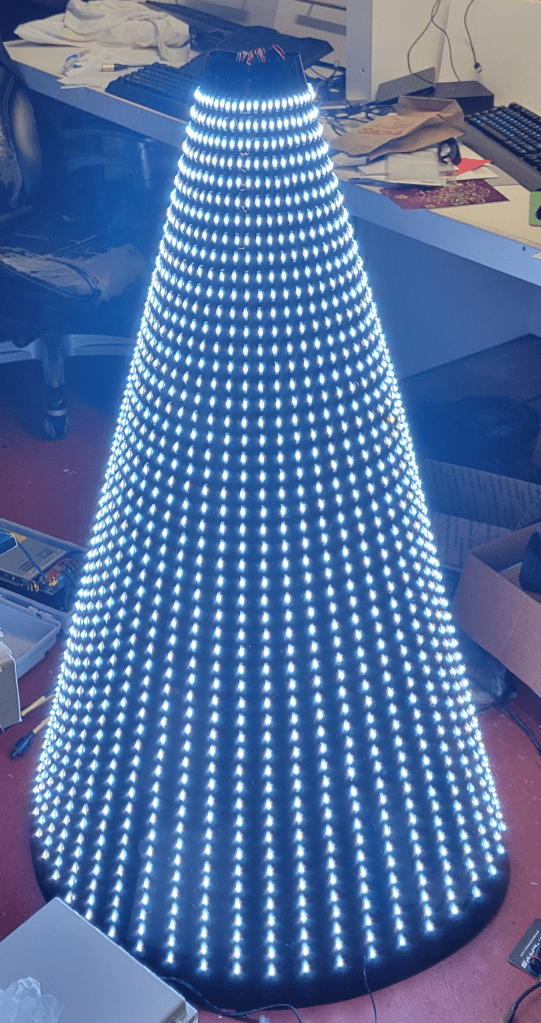
As I do like my storyline sequences, which look good on trees with 16-32 strands of 50 pixels, I
designed the “minimega tree” to be about 4’ tall, which leaves room for 50 pixels vertically. 50 pixels is also convenient to work with if you have premade strings of 200 pixels, at 4 strands per string. A full 360 degrees is 48 strands, though I have generally been populating 32 strands (240 degrees) and 8 ports.
From an xLights model perspective, using an “alternate nodes” configuration that starts at the top of the tree leads to almost perfect use of the 5cm spacing.
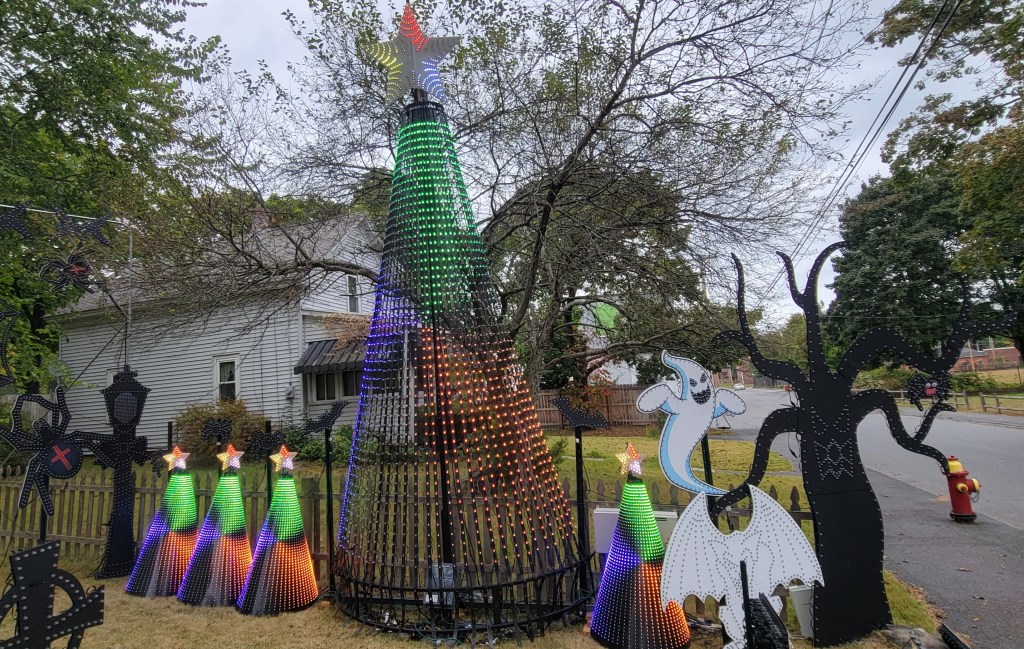
Spinner (1200 nodes)
As the tree design does not fill up the full sheet of HDPE plastic, I designed a spinner to go in the corners. Because I wanted it to support 5-point star/ and 6-point snowflake, I gave it a symmetry factor of 30. I’m not sure it’s a wonderful design, but it does follow the 5cm spacing nicely, and otherwise the material would have been wasted. Diameter is about 3’.
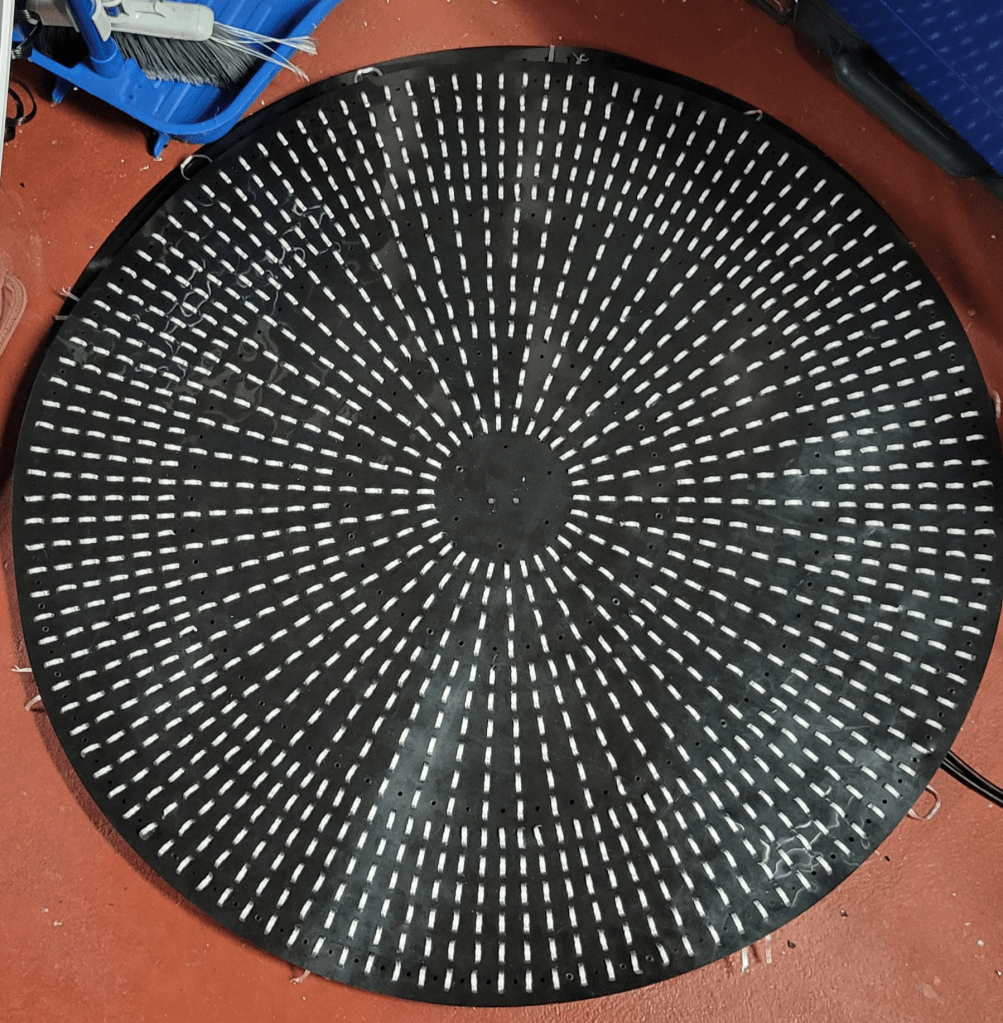
Spider Web (2000 nodes)
Although it has only seen two seasons, my gorgeous 8’ GE Mother of all Webs has started to deteriorate, and also had the misfortune of being populated with a bad batch of 2022 pixels which were also starting to fail.
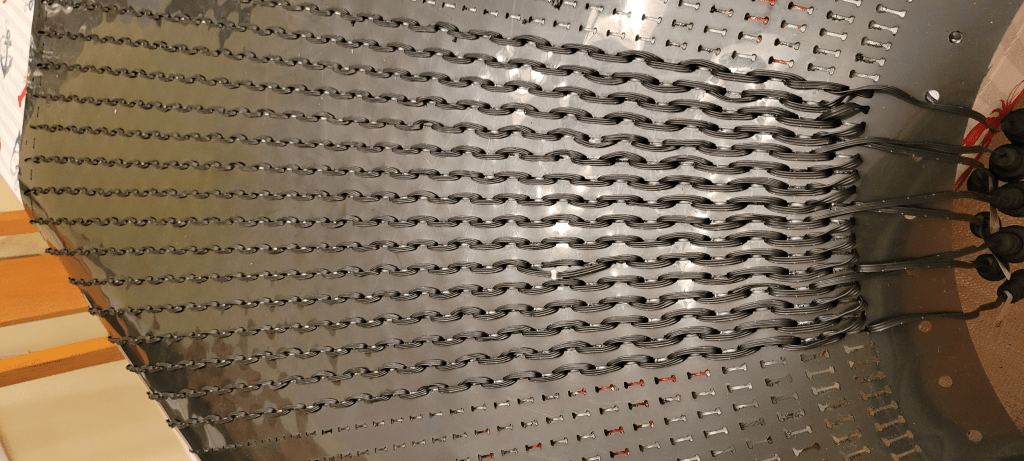
Rather than just making another one, I decided to design a new web for seed pixels, again with the goal of using strings of 200 5cm pixels. This worked out reasonably well using 10 strings, one per web arm:

While this design does barely fit within the cutting area of the HolidayCoro process, I decided to break it into 5 sections. This was much easier to work with when it came to pushing the pixels, so I’m glad I did it that way. Zip ties were used to connect the pieces.

The basic wiring pattern starts at the center, goes out each spoke every other hole, goes halfway down one direction of the webbing and turns back, proceeding to the outer edge, at which point it turns around and heads inward, doing the other webbing halves. For details, see the custom model (below).
Vector Files, Model Files, and Source Code
These designs were all made using JavaScript programs using the makerjs library. Per usual, I keep sources in a github project.
The JavaScript programs resulted in SVG / DXF files for cutting. As found in the repository, these are “cut inside” lines. You can also change to “cut on” paths or adjust for kerf. (The code is adjustable to make I or C shaped slits, by changing where it says “makeSlit” to “makeC”. Alan Hanson has tried C-shaped slits instead of I, these are cut much more quickly by the CNC machine. He says they work; I haven’t tried it.)
The resulting SVG / DXF files are in version control, even though they can be regenerated. This is to serve as a reminder of what exactly I had cut.
The tree does not need an xLights model, as the native model will cover a convenient wiring order. However, the spinner and web do need custom models. Custom models with submodels can be found in version control.

Seed pixels, their weight, and ability to store easily is what is getting me back into this hobby. I was contemplating just hand cutting a shape out of the coro material and then just ziptying the seeds to it. This is a much better approach of having a push through cutout. Thanks for sharing the designs. I have to see what I may be able to use or come up with.
LikeLike