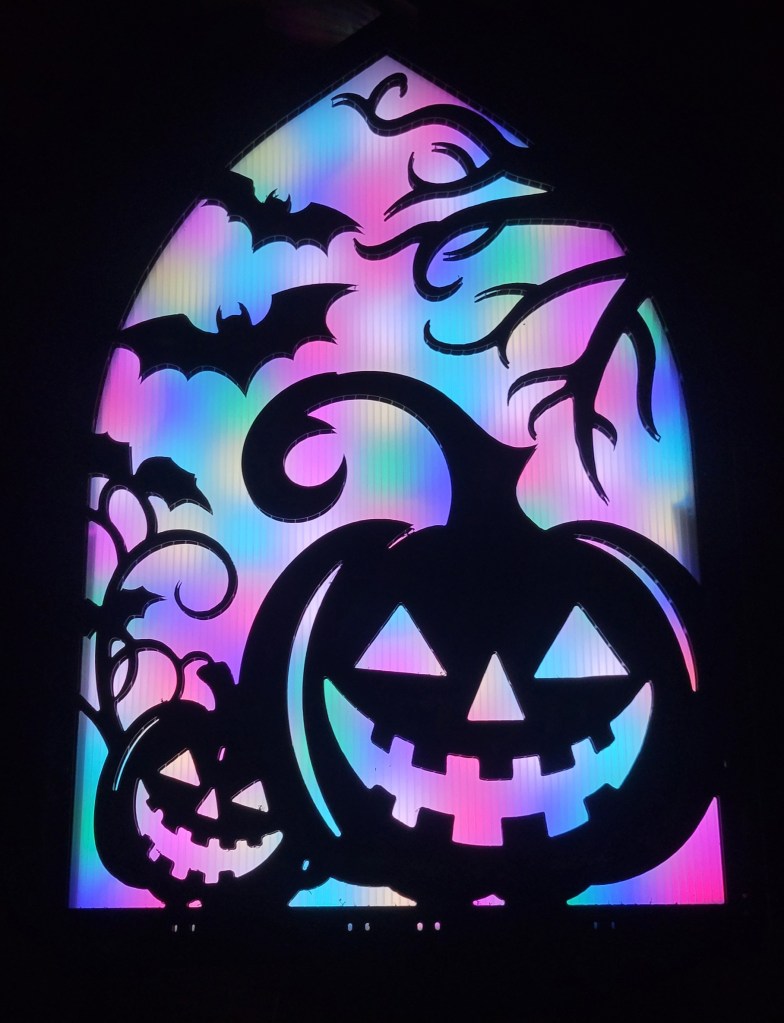
While you wouldn’t know it from most of the stuff in my light show, I have gotten rather tired of the “bullet nodes in coro” look and am interested in branching out whenever I can. Thus, the Boscoyo ChromaGlow TombStones caught my eye.
(Yes, technically these stones are just bullets in coro. However, with the front diffuser and detailed scenes, they have the potential to be so much more.)
I have 6 ChromaGlow presents for use at Christmas. So, it made sense to order one of each of the 6 Halloween designs to take their place in the Halloween show.
First Impressions
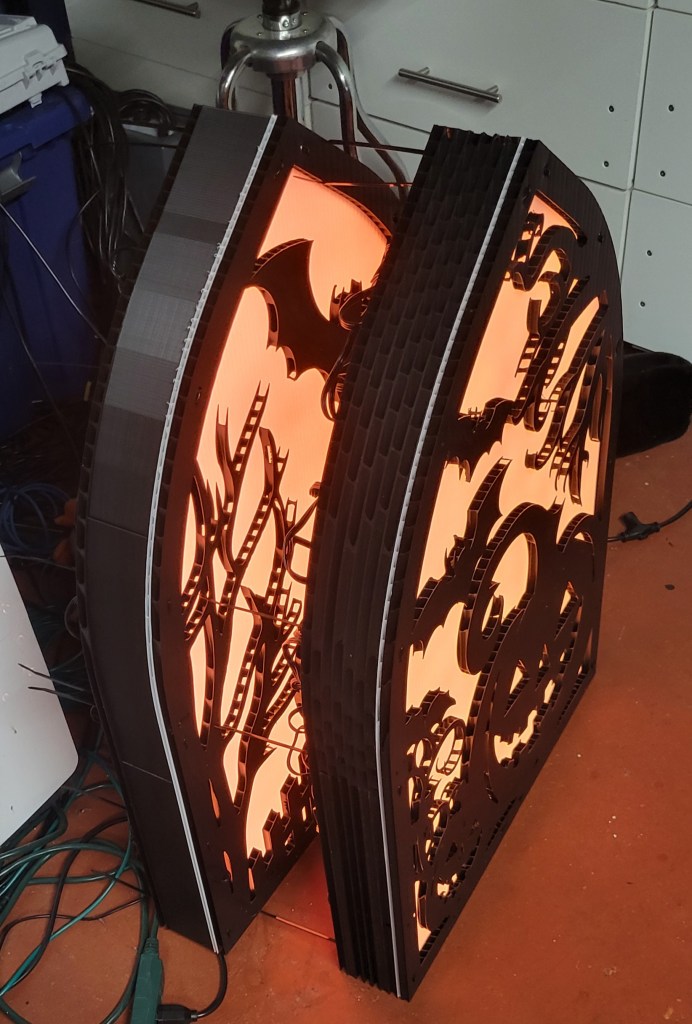
To be blunt, the first impression was that the front diffuser is too close to the pixels and that the hot spots are very distracting:

But I had ordered 6 kits. So, I borrowed a few of the coro pieces to make a thicker tomb and found that 6 layers (60mm) is much better than the 2 layers (20mm) that came with the kits:
Adding More Spacers
Now that I knew I wanted about 60mm of space between the back pixel coro and the front diffuser, I wrote to Boscoyo sales and asked if they’d sell more pieces.
Before they got back to me, I was cleaning and found 2 rolls of black PETG printer filament from a few years back. Why not 3D-print the spacers instead?
I’m not an expert in 3D printing by any stretch, so I set out with TinkerCad to replicate the tomb outline (within ~1/8″ tolerance, as nobody can tell in the dark).


There was not much to this, just some rectangles, circles, and holes grouped together. I printed a very thin version, placed it over the tomb, and made a few 1/8″ corrections to the hole locations.
I then printed at 2.5″ thickness:

Assembly
The ChromaGlow Tomb is just a ziptie sandwich. I am using 12″ zip ties to go from the back, through the coro, through the spacer, through the diffuser, through the front coro, and back again through all the layers.
I do rather like how the 3D print parts worked out compared to the coro spacers:
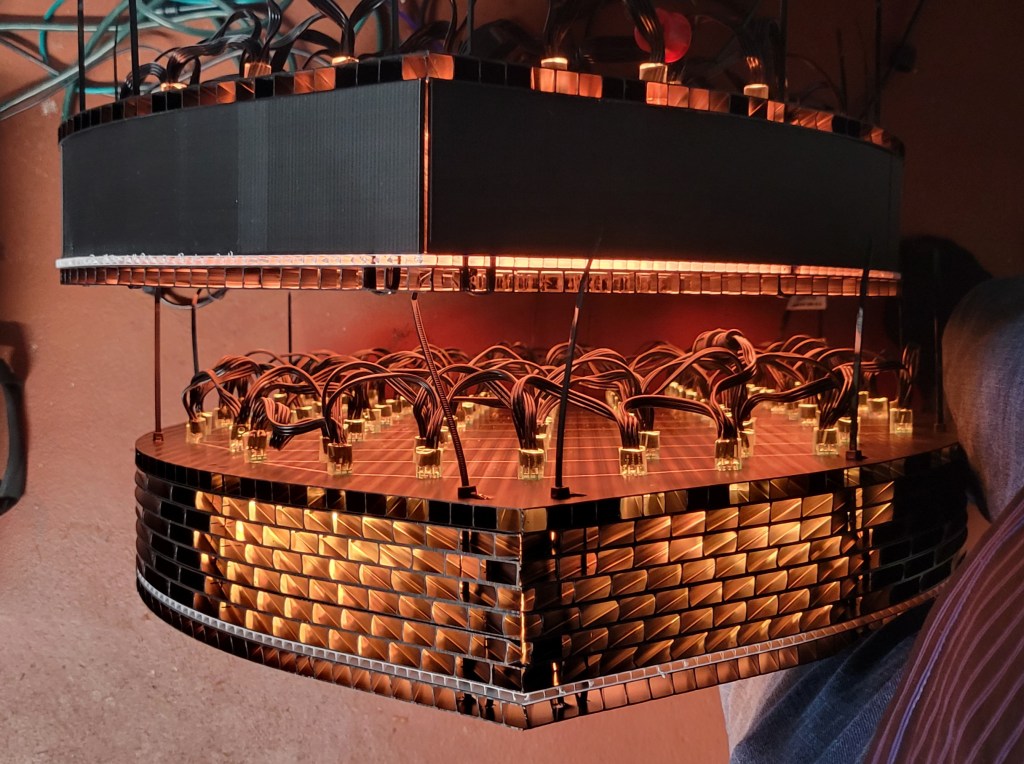
(Though honestly, the orange glow is cool, reminds me of the vacuum tubes in old radios.)
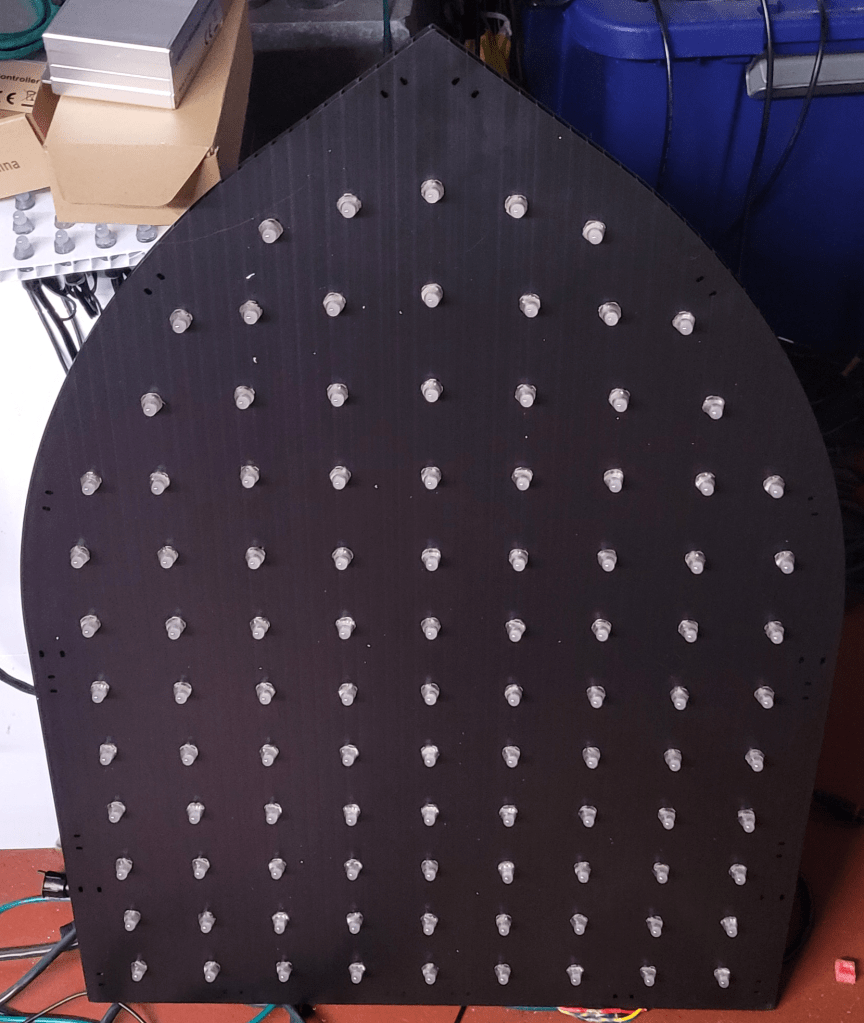
Pixel Selection
This project uses a 100-count string of 12mm bullet nodes.
Because of the translucency, I would suggest using the brightest pixels you can find, such as:
- Old-school 12V regulated pixels
- 12V GS8208 pixels
- O.G. 5V pixels that use 16-18mA per channel
You can see from the picture below that the GS8208 pixels (on the left) are a bit brighter than the 12V WS8211 pixels (on the right); this also has the side-effect of making the color seem purer in ambient light:

3D Printing Files
I did not optimize for material consumption, but let’s just say I used more than those 2 spare reels while making these spacers. The outline is divided into 6 pieces, so print 2 of each file below (after stretching to the height desired, it’s currently set at 1″ but I stretched all mine to 250%.
Conclusion
I like how these turned out, and think they’ll look great in the show. I think I’ll start by putting them in the floods group in existing sequences, though I may also try a mini-matrix configuration for fire effects and similar, so updates on that as warranted.
